Let's go through the basic elements of React
JSX is a syntax extension to JavaScript. It is similar to a template language, but it has full power of JavaScript. JSX gets compiled to React.createElement() calls which return plain JavaScript objects called “React elements”. To get a basic introduction to JSX see the docs here and find a more in-depth tutorial on JSX here. React DOM uses camelCase property naming convention instead of HTML attribute names. For example, tabindex becomes tabIndex in JSX. The attribute class is also written as className since class is a reserved word in JavaScript.
Source: https://reactjs.org/docs/glossary.html#jsx
So JSX is nothing more than sugar syntax on top of JavaScript, allowing you to write what seems to be HTML-in-JS, but translating it into function calls, as you can see in this babel live transpiler.
React can also run directly in the browser when added as a dependency, but you also have to add a jsx parser lib. In most of the cases, you will have a webpack/babel setup in your project that will automatically transpile JavaScript and JSX to standard JavaScript that can run in any browser.
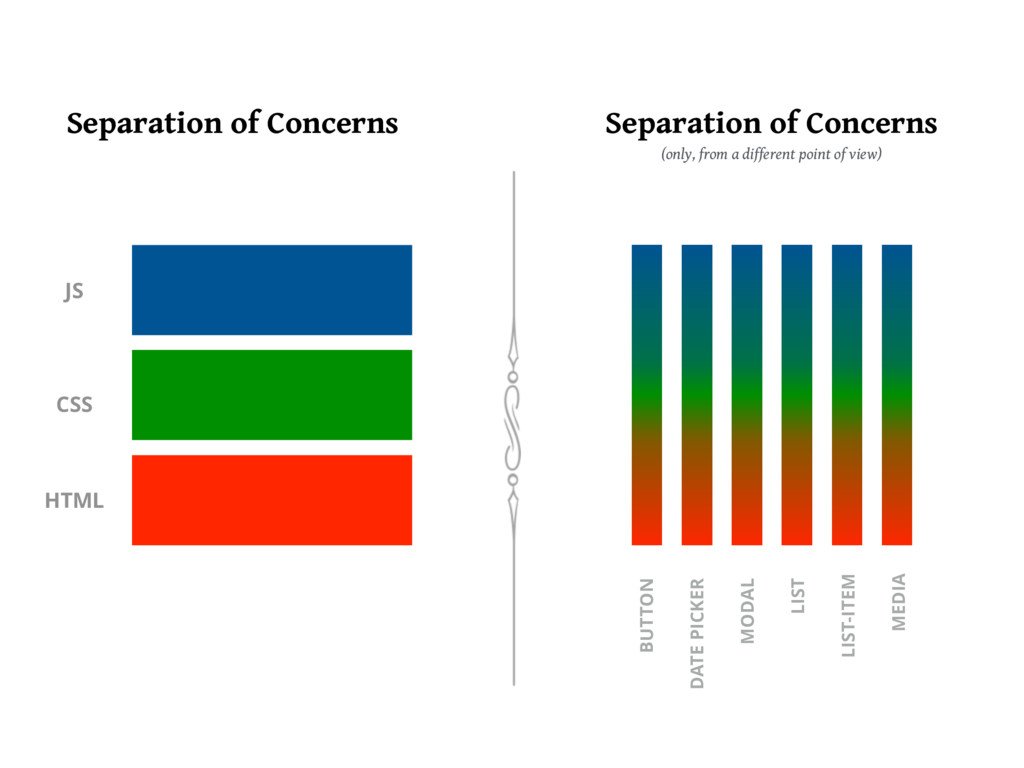
JSX does not break separation of concerns, components are simply a new way of separating concerns based on function, not on technology!
React components are created by extending the React.Component class. There are some alternatives to this, but we will check them out when we go a bit more in depth into React. For now, we create a class with a single function called render.
class App extends React.Component {
    render() {
        return (
            <div>
                <h1 className="heading">Hello React!</h1>
                <p>This is a paragraph!</p>
                <p>This is another paragraph!</p>
            </div>
        );
    }
}
Working example here
Each component creates a new which is available in your JSX code. Custom components should always start with a capital letter! The component behaves exactly like a regular tag. Feel free to inspect the DOM and install React Dev Tools to see the components in action!
class App extends React.Component {
    render() {
        return (
            <div>
                <h1 className="heading">Hello React!</h1>
                <p>This is a paragraph!</p>
                <p>This is another paragraph!</p>
                <Greeting />
            </div>
        );
    }
}

class Greeting extends React.Component {
    render() {
        return <span>Hello Stranger!</span>;
    }
}Let's have a look at some of the basic elements that make up a React Component.
The render function is the only mandatory element of a React Component. The function is always invoked on the component instance by React, so any call to this is accessing the component instance (ex: this.props, this.state). More on this later ;)
render must always return something: JSX tags or false/null/undefined in cases where the component should not output any content. JSX syntax must always be enclosed in a single root node. In order to avoid the unnecessary creation of divs or other elements, React introduced a special component called Fragment that can wrap multiple nodes without creating an actual DOM element around them.
Because of the declarative nature of React we don't invoke the render function manually. The function is invoked by the library everytime there's a new value for a prop passed or after setState is invoked.
Although it sounds counter-intuitive, React is actually extremely fast because of this blind re-render mechanism! The secret here is the virtual DOM. React doesn't immediately apply changes from one component to the DOM, but it constructs an in-memory structure which is a 1-1 mapping of the DOM. After each change a new tree is constructed and compared to the old tree. If two nodes are identical, no DOM operation is performed. This means that only the changes are applied to the DOM after each vDOM comparison is done. This comparison algorithm is called reconcilation and it is extremely fast!
References
Props represent the input values of a component. They are passed as attributes on JSX and are accessed through this.props:
<Greeting name="Alice"/>class Greeting extends React.Component {
render() {
return <span>Hello {this.props.name}!</span>;
}
}Props can be virtually anything: primitive values, functions, objects, arrays, etc.
Props offer a way of passing down data/values from a top level component to its descendants. Props cannot be modifed! Which means that the data flow is unidirectional, from the parent to the child. child-to-parent communication is done through function props, which, when passed from the parent, act as a callback for the child components.
It is a good practice to validate props with the separate prop-types package. You can specify the type of a prop, its default value and whether it is required or not.
class Greeting extends React.Component {
    render() {
        return <span>Hello {this.props.name}!</span>;
    }
}
Greeting.propTypes = {
name: PropTypes.string.isRequired
}References
If props represent outside data for a component, its state represents the internal data. Each component can encapsulate a state object which is accessible in all the functions, but which is not exposed to the outside world. Similarly to props, you can add primitives as well as complex structures to a state object.
The state object is not modified directly, but through a special function: this.setState. React does the state changes behind the scene in an asynchrounous way. Furthermore, a call to setState is also triggering the reconciliation algorithm for the current node and all its children.
There are two ways of calling setState:
- By passing a new state object. In this case the state object is updated with the new values.
- By providing a function which gets the current state object as a parameter.
The second option is usually prefered, especially when the new state value is dependent on the old state value. If you don't specify an existing state key in the new state object, that key/value will be preserved in the state.
Check out a complete example of using setState.

For each stage in the life of a component we have specific functions that we can optionally implement in our components. We will go through a few just to get the feeling, but don't worry, you don't need to learn complex logic to understand how the hooks are called. Usually, you will find that each specific use-case falls into a specific pattern. When you need to use the lifecycle hooks in an "unnatural" way, you immediately can feel that something is not right.
Some of the hooks explained:
constructor- called just once when the component is instantiated.componentDidMount- called just once, after the component is added for the first time to the DOM, used for adding event handlers or making async data calls.componentWillUnmount- called just once, when the component is due to be removed from the DOM, used for cleanup.shouldComponentUpdate- method used for component-level performance optimizationcomponentWillReceiveProps(deprecated) - replaced bygetDerivedStateFromProps, called before the mount and also after each component re-render.
Check out an example with a couple of hooks added to a component.
You may have noticed some strange syntax when defining the React components as classes. key = value inside the definition of a class is what we call a class property. This is an almost standardized syntax for JS classes that just needs a babel transform to work in your webpack/babel setup.
In the past, in order for event handlers to properly have acces to the component instance (this.props, this.state) you would have had to manually bind them inside the constructor, like this:
class Message extends React.Component {
    constructor() {
        super();
        this.state = {
            showMessage: true,
        };

        this.toggle = this.toggle.bind(this);
    }

    toggle() {
        this.setState(state => ({
            showMessage: !state.showMessage,
        }));
    }

    render() {
        return (
            <div>
                {this.state.showMessage && "Message is visible"}
                <button onClick={this.toggle}>Click me!</button>
            </div>
        );
    }
}
With class properties, you end up with this, eliminating the need for a constructor function:
class Message extends React.Component {
    state = {
        showMessage: true,
    };

    toggle = () => {
        this.setState(state => ({
            showMessage: !state.showMessage,
        }));
    };

    render() {
        return (
            <div>
                {this.state.showMessage && "Message is visible"}
                <button onClick={this.toggle}>Click me!</button>
            </div>
        );
    }
}
References